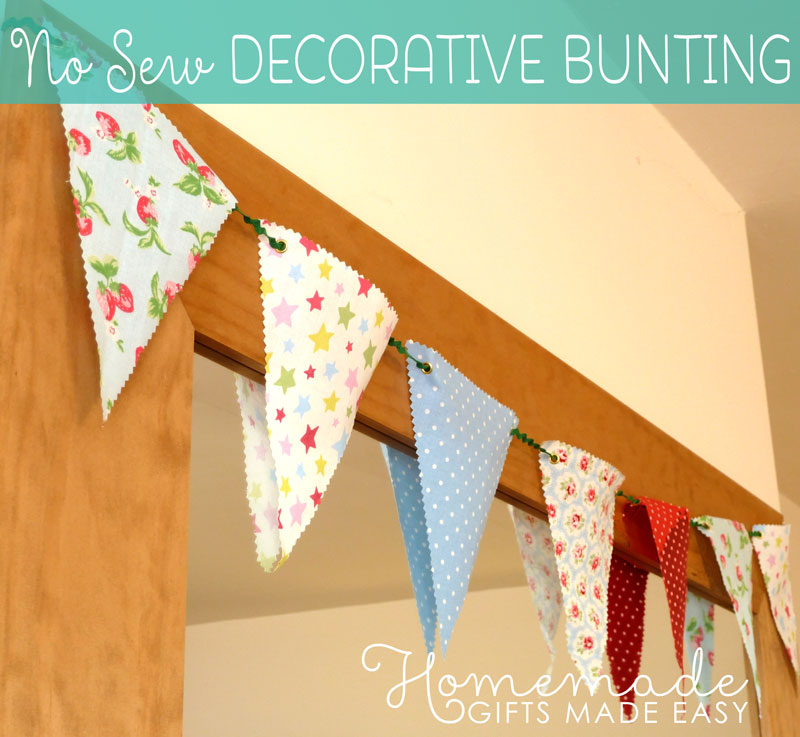
How to Make Decorative Bunting
Easy No Sew Fabric Banner Bunting
Wouldn't it be nice if there was a way to make decorative bunting without any sewing or gluing...
Well it turns out there is a way :-) On this page I'll show you how to make bunting using super quick and easy way that you can complete in minutes.

The tricks to this method are:
- Use pinking shears to cut the fabric so you don't need to hem it. This also gives the fabric nice-looking zig-zag edges.
- Put eyelets in the fabric pennants and thread the pennants on to ric-rac. This is way faster than the traditional way of sewing the pennants onto a bias binding.
Here are the steps in more detail...
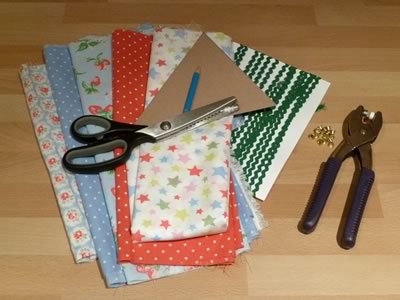
Materials for Making Decorative Bunting
For this project, you will need:
- Fabric , in several colors. Look in the remnants bin for some bargains.
- Pinking shears, a.k.a. scissors with zig-zag edges
- Ric rac trim , ¼" wide. That's the stuff that looks like wobbly ribbon.
- Eyelet-setting pliers and eyelets
- Cardboard piece
- Pencil for marking fabric
How to Make Bunting
Step 1
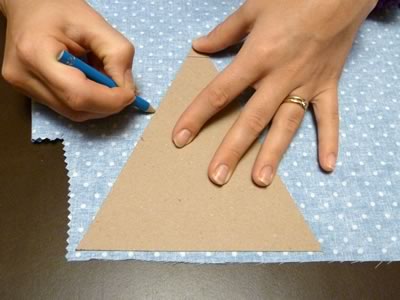
Download this triangle template and use it to cut a triangle out of a piece of cardboard.
There are several different sizes of triangle on the template so you can make the bunting as big or small as you want. I used the biggest size, which is about 6" wide by 7.5" tall
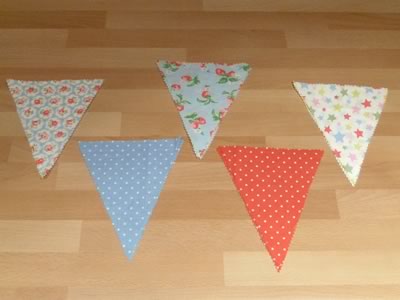
Trace triangles onto the reverse side of your fabrics using a pencil. You'll want about 5 or 6 triangles per yard of bunting if you're using the largest size triangle.
Cut out the triangular fabric pennants using pinking shears. The zig zag edge does a pretty good job of stopping the fabric fraying and as the bunting doesn't get a lot of wear and tear will be fine without a hem.
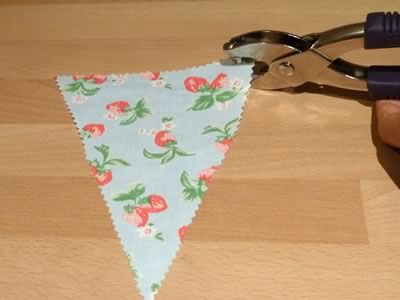
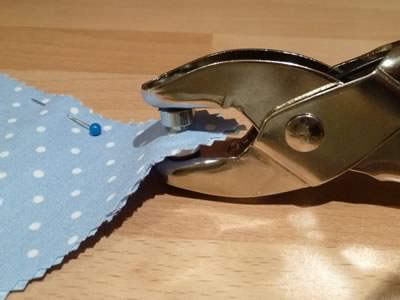
Step 2
Use the eyelet pliers to punch holes in top two corners of each triangle and then set eyelets in those holes:
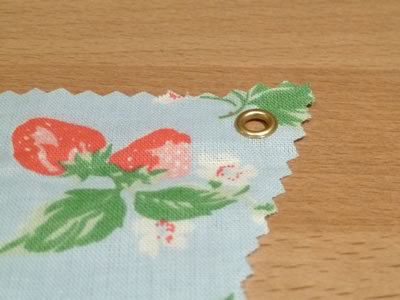
Each finished eyelet looks something like this:
Step 3
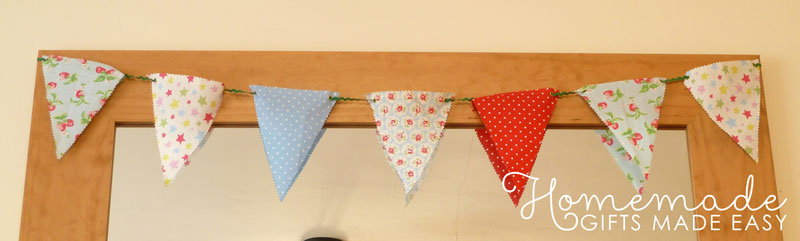
Feed the ric rac through the eyelets in the fabric triangles and space the triangles out evenly. There's no need to sew them in place, because the wobbles in the ric rac stop the triangles sliding about. Easy peasy!
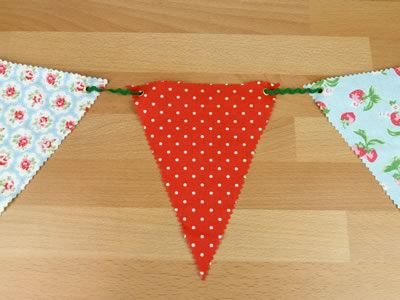
And here's the finished bunting:
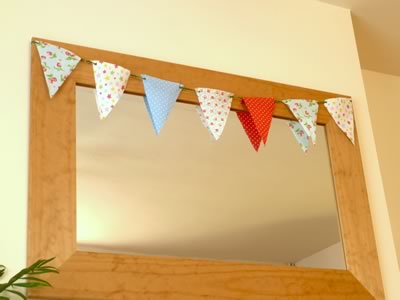
Notice how I took this photo from a cunning angle so that you can't see all the mess and clutter in my living room ;-)
Variation: Two-sided decorative bunting
What about if you want to hang bunting outside or through the middle of a room, so that both sides of the fabric will be visible? In that case, you'll want to make sure the bunting looks good from both sides.
To prevent the raw back of the fabric showing on one side of your bunting the easiest solution is to cut pairs of triangles and put them back to back and set the eyelet through both of them. It helps to use pins to hold the two pieces together while you punch the holes and set the eyelets.
Related pages
I hope you enjoyed learning my easy peasy way for how to make decorative bunting. Here are some related pages I think you might enjoy...