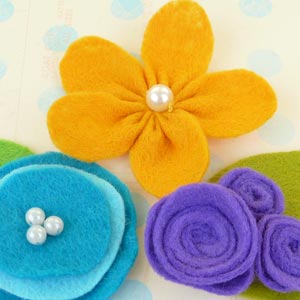
DIY Brooch Tutorial
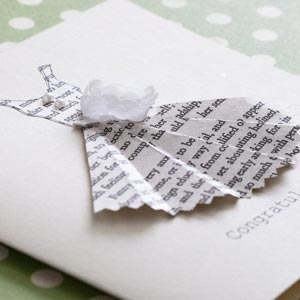
Make a funky DIY brooch using basic decoupage techniques. The design is so versatile, and it's a great way to use up interesting scrapbook paper or old cards, book text or music scores. We've also made some free printable gift tags so you can present your gift beautifully too!
I occasionally run a craft session at my local mothers' group and it has to be a craft that anyone of any ability can do in minutes (with the imminent threat of their child coming out of creche crying for some reason or other!).
Next week I'm leading the craft session again, and we're making these gorgeous wooden brooches. Once you've got the materials, the actual making is super simple, yet the result looks amazing and it's a fabulous gift idea for Mom's, family and friends. I can't wait to lead the session and see all the different designs the ladies make out of my craft stash!

DIY Brooch Tutorial
Materials
For making these wooden brooch pins you will need:- wooden MDF craft squares (I'm using a 3cm / 1.2" square - you can buy craft MDF in all shapes and sizes, or re-purpose a wooden domino or similar.)
- water-resistant mod-podge (I'm using Hard Coat)
- pretty piece of paper/card to decorate your brooch
- soft brush or foam applicator
- hot glue gun
- metal brooch pin (I'm using 1" (or 2.5cm) nickel-plated pins)
- scissors
- craft blade and cutting board
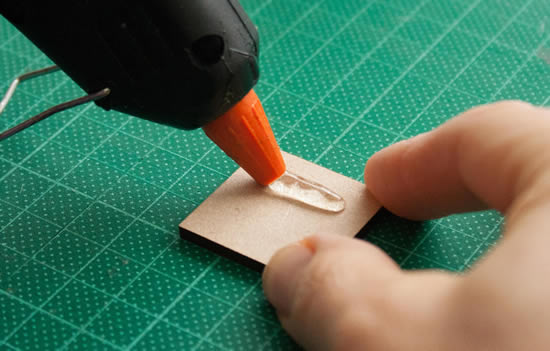
Gluing on the pin
Using your hot glue gun, put a strip of glue roughly 1/3 of the way down from the top of the brooch.
Quickly take your brooch pin and firmly press it into place. Allow the glue to press around the edge of the pin and through any holes in the base of your pin.
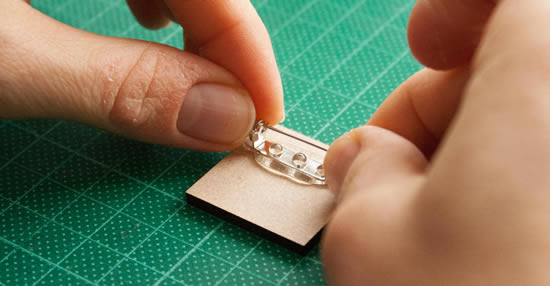
NOTE: Most glues have a hard time sticking onto shiny metal. When you use hot glue it's a good idea to let it ooze around the edge of the pin base and through the holes to give a firm mechanical adhesion to the metal. If you don't like the look of the big blob of hot glue then the neater-looking alternative is to use epoxy glue which sticks better to metal, but is a bit more fiddly because you need to mix it from two tubes.
Decorating your DIY brooch pin
Choose a pattern or image that you want to go on the brooch and roughly cut it to size, slightly larger than your wooden base.
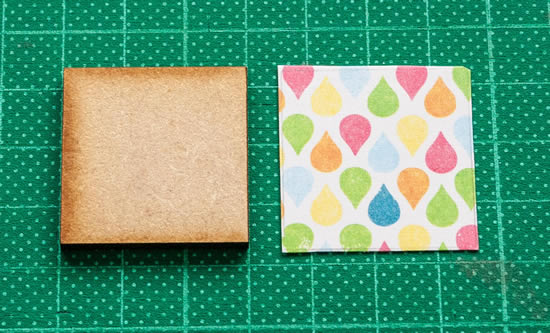
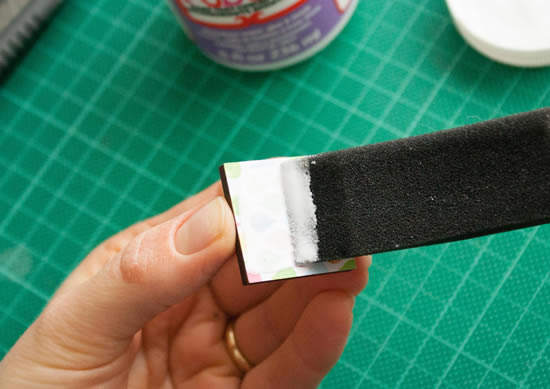
Glue the piece of paper onto the surface of your brooch using mod-podge. Don't over do it, otherwise you'll have glue oozing out the edges!
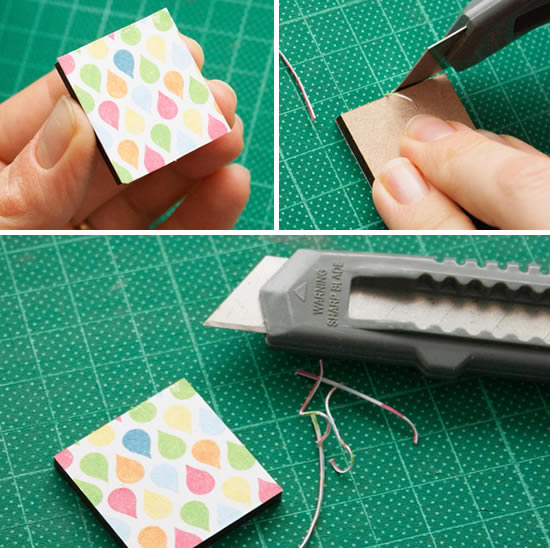
Using your craft blade, trim off any excess paper from the edges of your brooch. This will give your brooch a lovely clean edge and finish.
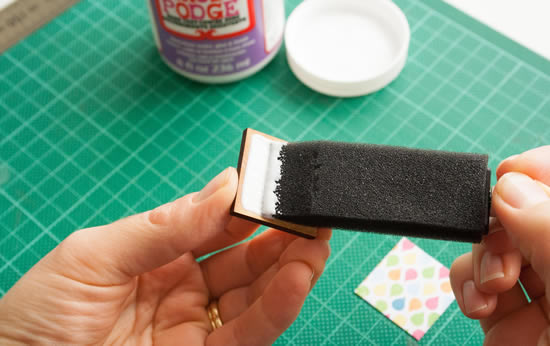
Once trimmed, coat the surface of your brooch with a smooth layer of mod-podge.
Allow to dry for 20 minutes or so and then re-apply (you can add as many coats as you like. I think two is a minimum).
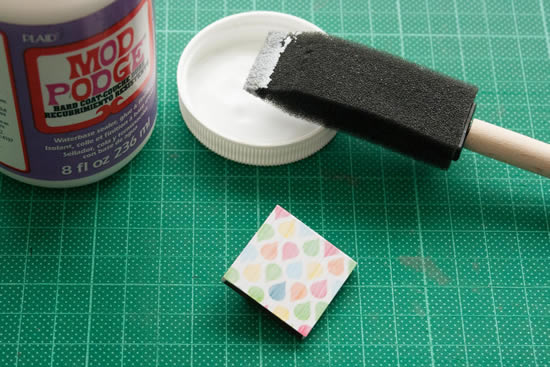
Just a note on choosing the right glue applicator...
It's hard to get a streak-free finish with most applicators. The best I've found is a feather-soft wide brush and making sure you apply light coats of glue in only one direction. You can also water down the mod-podge and do extra layers. There is always the option of doing a wet-sand and polish after the final coat too (see instructions on the mod-podge packaging).
However for our Mother's group we're just using foam applicators because I think they also do a pretty good job and are inexpensive! If you use a matte finish glue you will see less ridges than a shiny coat (simply because they reflect the light less), so that is another option.
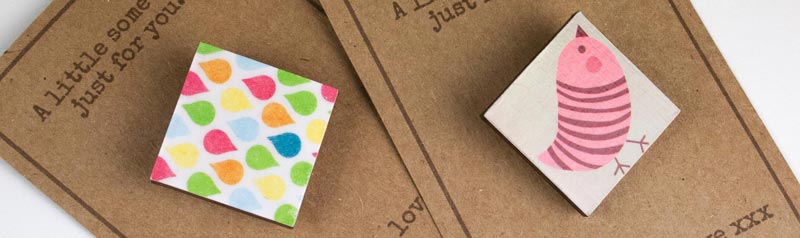
Brooch Gift Labels
Download and print out our free gift labels for your brooches.
I recommend printing the labels on brown card-stock. I've made the labels in brown because I like the sepia-ink effect, but set your printer to print black and white if you prefer black ink.
Download Brooch Gift Tags
Once printed, use your craft knife to cut two small slits in the card, undo your pin and secure it to the card.

What next?
We hope you enjoyed our DIY brooch tutorial and our free printable gift labels. Here are some other projects on our site you might also enjoy: