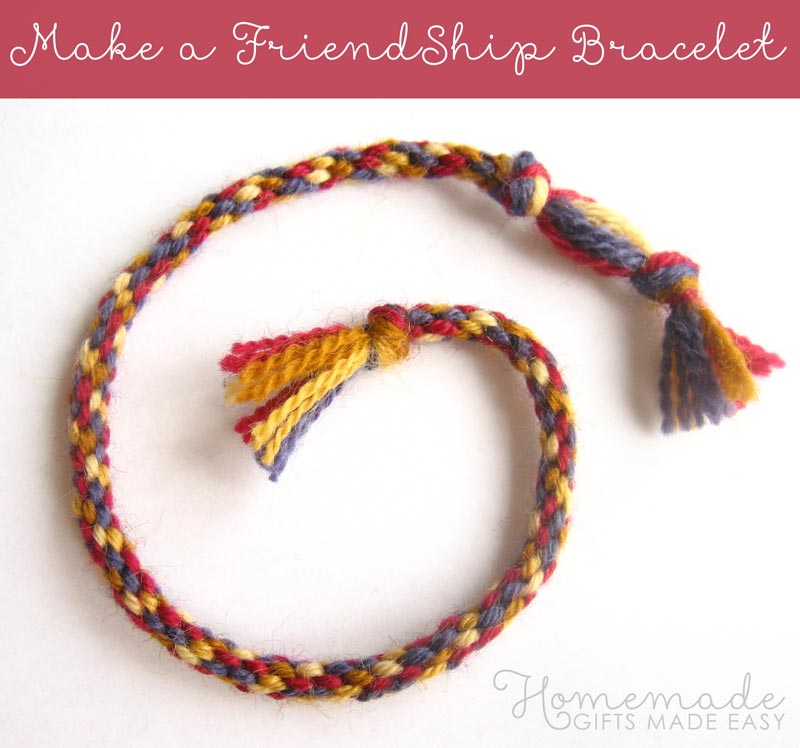
Make a Friendship Bracelet the Easy Way
Want to make a friendship bracelet? I'll show you a little-known technique that lets even a complete beginner make beautifully braided bracelets.
In 20 minutes from now, you can finish an intricately braided friendship like this one:
The trick is using something called a braiding disc, or braiding loom. It's just a round piece of cardboard with some slots in it, but it makes bracelet-weaving a lot easier compared to the bracelet-making method described in most books . In the free friendship bracelet instructions below, I'll show you how to make your braiding disc and how to use it.
I'll start out with step-by-step photo instructions, but if you prefer you can also skip ahead to the video tutorial further down the page.
Ready? First up, you'll need to gather your materials.
Materials to Make a Friendship Bracelet
All you need is:
- 7 strands of yarn, each 2 feet long
- 1 piece of cardboard, e.g. breakfast cereal box
- pair of scissors
Tip: Instead of yarn, you can also use embroidery floss. If you use embroidery floss, double over the strands to make them thicker
Photo Instructions to Make a Friendship Bracelet
Step 1: Make Your Cardboard Braiding Disc
Trace a circle onto a piece of cardboard using a drinking glass and a pencil. Cut out the circle, then cut 8 small slits evenly spaced around the edge. Each slit should be about 1/2" (1 cm) long. Also, use your pencil to poke a hole through the center of the circle. (Be careful not to poke your hand!)
Step 2: Make the Starting Knot
Line up the ends of your 7 strands of yarn, then tie a simple overhand knot like this. Make it so that there's about 1" (2cm) of loose ends poking out of the knot.

Step 3: Put the Yarn on the Braiding Disc
Poke the knotted end of the yarn bundle through the hole in the center of the braiding disc, like this:

Then clip one piece of yarn into each slot, except the top slot. Your braiding disc should look like this:

Step 4: Braid Your Friendship Bracelet
Braiding your bracelet with the disc is really easy. There are just two steps to learn and repeat.
- Step A:
-
Hold the disc so that the empty slot is at the top. Un-clip whichever yarn is in the bottom-right slot and clip it in to the top slot, like this:

- Step B:
-
Now the bottom right slot will be empty. So, rotate the whole disc so that the empty slot is at the top again, like this:

Now, just keep repeating Step A, Step B, Step A, Step B etc, and your bracelet will grow. It seems a bit like magic the first time but it really works!
As you continue, you'll see your bracelet growing down through the hole in the center of your braiding disc, like this:

Step 5: Un-clip from Braiding Disc
Once the bracelet is long enough to go around your wrist, in-clip it from the braiding disc. It should look something like this:

(I used a bit too much yarn on this one, so the loose ends are quite long.)
Step 6: Tie Finishing Knots
Tie an overhand knot (just like in step 2) right at the point where the braiding ends. Then tie another overhand knot about 2/3" (1.5cm) away. Trim the loose ends. The end of your bracelet should now look like this:

Finished!
Congratulations on finishing your bracelet! To wear it, you poke the knot at one end through the gap between the two knots at the other end, like this:

How did your friendship bracelet turn out? I hope you found my instructions clear. If you have any comments or suggestions or just want to say hi, please contact me with this handy form .
Make a Friendship Bracelet - Video Tutorial
I found this very clear video (not mine) that explains the technique really clearly. I hope you enjoy it!
You might also like...
Here are some other pages I think you might enjoy: