Fold a Money Origami Star from a Dollar Bill
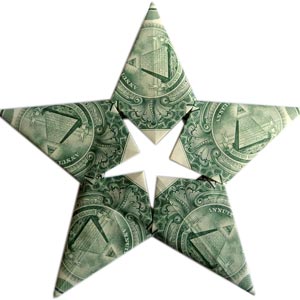
Learn how to fold a 6-pointed money origami star (star of David) from a dollar bill. Our detailed photo and video instructions will make learning this moneygami easy!
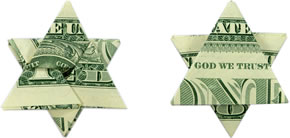
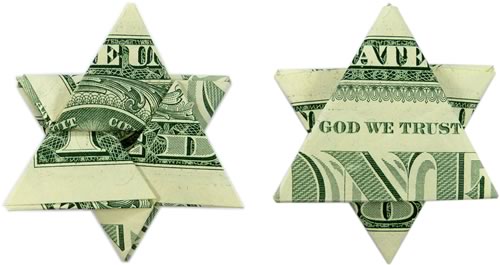
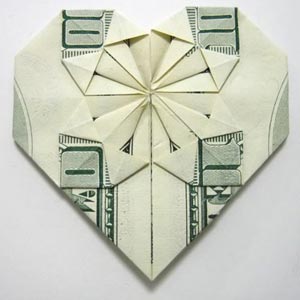
Each star is made from a single dollar note, and here's what they look like up close. I think it's a nice coincidence that the "God We Trust" bit of the note ends up showing in the middle. Of all the different ways to fold money , this one is quite cool, don't you think?
Ready to learn how to make it? You can choose from:
Video: Money Origami Star Step by Step
Here's a video I made showing how to fold the star:
If you have a slow internet connection then you might prefer to follow the photos below instead.
Photos: Money Origami Star Step by Step
I'll show you the instructions with a white piece of paper cut to the same size as a dollar bill. The folds are easier to see this way than with a real bill.
Step 1
Fold the bill in half lengthwise and unfold again, to make a crease.
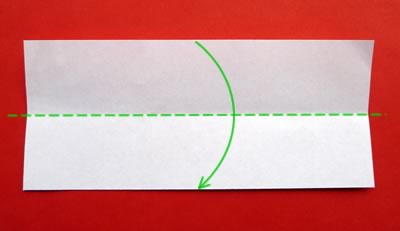
Note : If you'd like "god we trust" in the middle of your star, then start with the bill this way up:

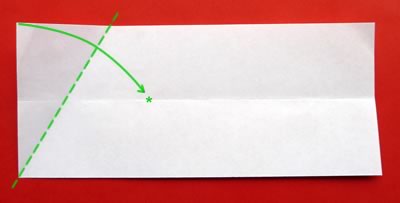
Step 2
Fold the top left corner down to meet the crease in the center (marked with a *). Also, make sure that the crease passes through the bottom left corner of the bill.
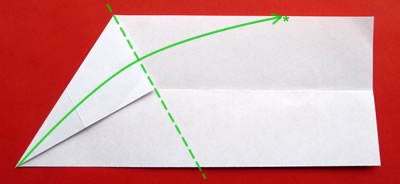
Step 3
Fold the bottom left corner up to meet the top edge, like this:
Step 4
Fold the top left corner down to meet the bottom edge.
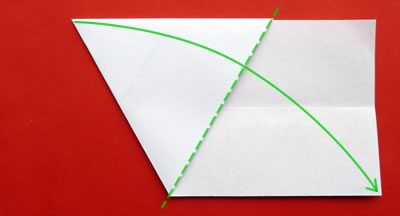
Your bill should now look like this:

If you're using US money, the corners will match up almost perfectly, so that the top left corner touches the bottom right corner. With money from other countries, the corners might not meet, but it doesn't matter. All that really matters is that your bill looks like a triangle when you get to step 6.
Step 5
If you look closely at the bill, you'll see that there's a sort of pocket in it now. Tuck the loose flap into the pocket and fold it in place.
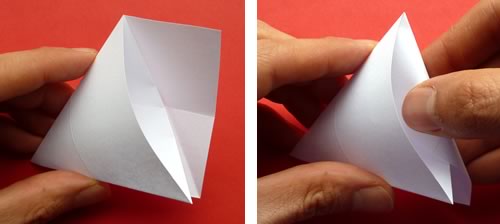
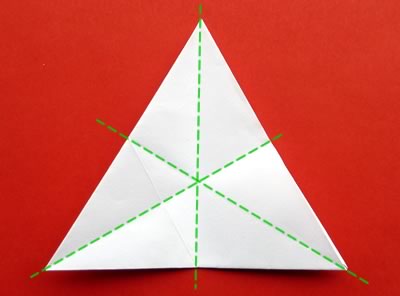
Step 6
Your bill should now look like a triangle with all sides of equal length.
Fold and unfold your bill in half all three ways, as shown by the dotted lines below. The reason we're doing this is to mark the center of the triangle
Step 7
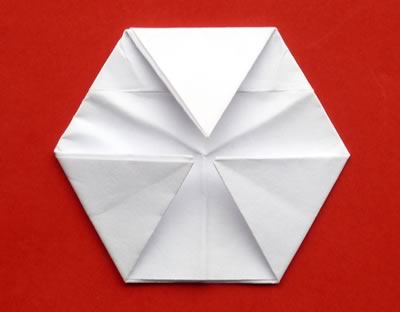
Fold the top point down to meet the center of the triangle.
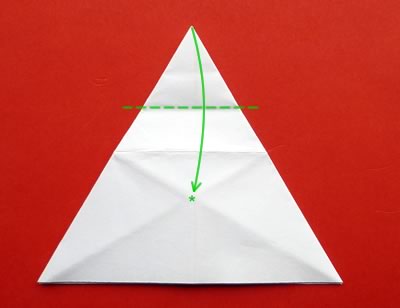
Fold the other two points to meet the center of the triangle too, so that your bill looks something like this:
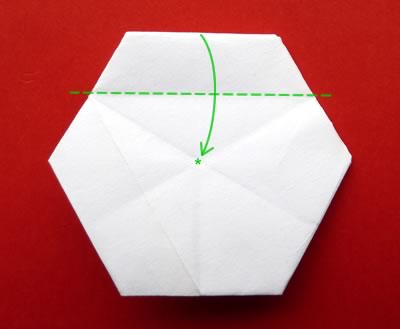
Step 8
Turn over the bill. Then fold the top edge down to meet the center point (marked with a *). As you make the fold, let the tip of the star flip out from underneath. You'll see what I mean in the next photos.
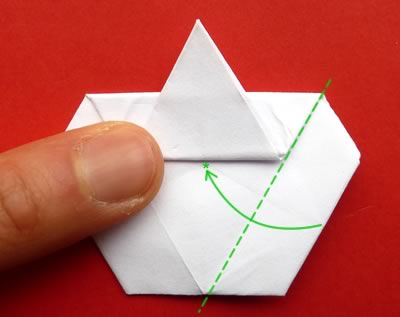
Now fold the bottom right edge to meet the center point, like in the photo below. Also, see how the tip of the star is showing from the previous fold?
Now fold the bottom left edge to meet the center point, as shown below. (Ignore my finger that's in the way.)
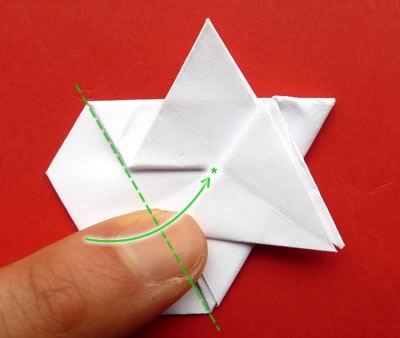
As you fold in this last edge, tuck it under the top flap. It's a bit hard to describe, but see the photo below.
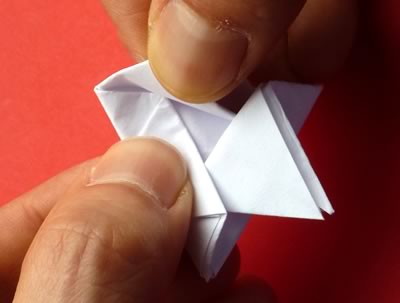
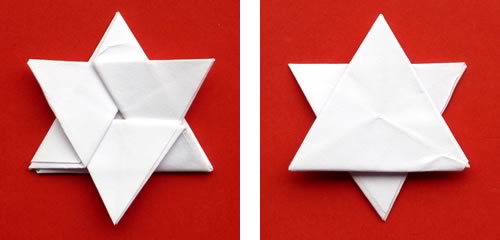
Finished!
Here's what the finished money origami star looks like from the front and back:
How did yours turn out? I hope you found my instructions clear. There are also some video instructions above which might help to make it clearer. If you have any questions or comments, or just want to say hi, please contact me with this handy form .
What Next?
You might like to try some of our other origami money folding projects:
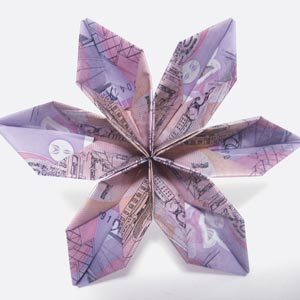
Or see all my money origami tutorials.