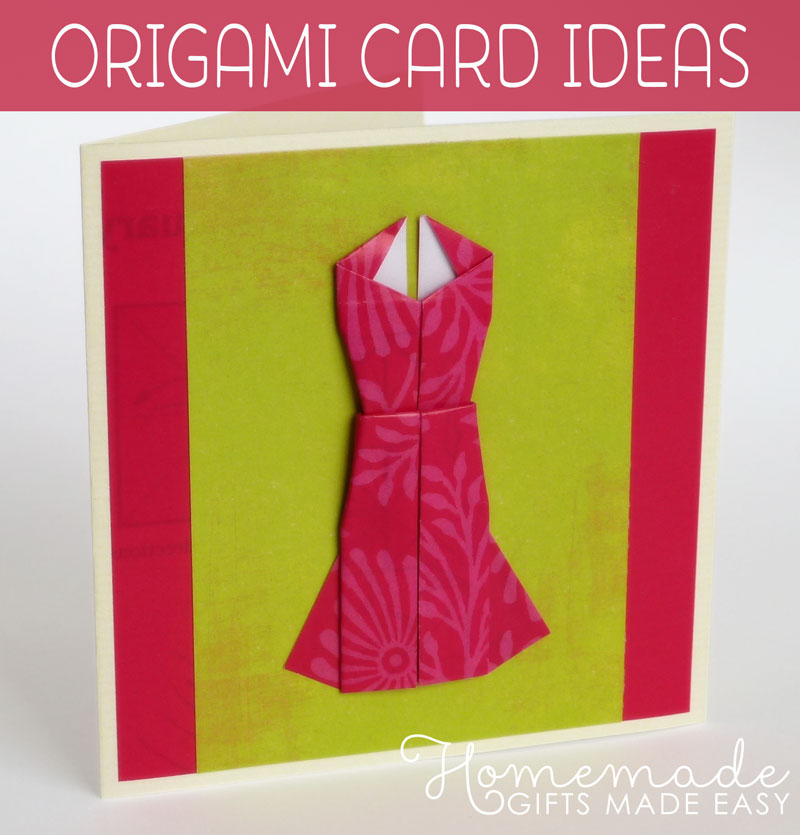
Make an Origami Card: Cute Dress Design
On this page I'll show you how to make this cute origami card with an origami evening dress. It's really quick and easy to make, and I'll show you step-by-step photos for folding the dress.
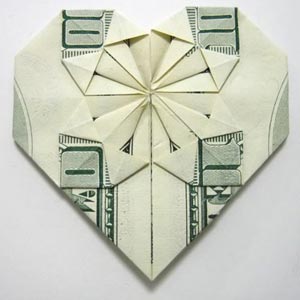
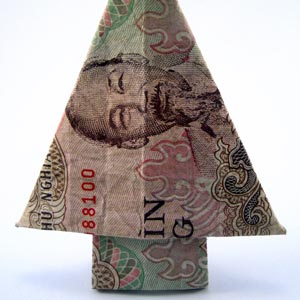
I'll also share a couple of other paper dress designs that you can use for making greeting cards, plus other origami folds like hearts, Christmas trees, and stars, which you can also use to make homemade cards.
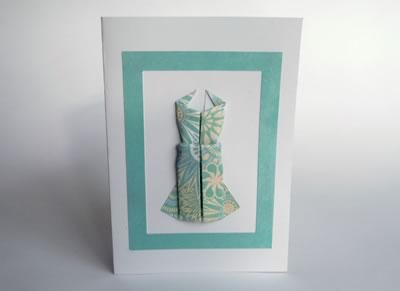
This origami dress card is great for your girlfriends, sister, or Mom. It's a really versatile design - the way I've made it in this photo is really simple, but you can also embellish the card with borders, jewels or sequins (see further down the page for more examples.)
So, on this page you'll find:
Folding the origami evening dress - step by step photos
Making the card - examples of several different designs
Other origami dresses to fold, with video instructions
Other folds for origami cards - hearts, stars, clothes, and more
How to Fold an Origami Dress
I originally found the instructions for this dress design on anu-origami and origami-club . I tweaked the design very slightly to give it a lower neckline (more glamorous!), and I also spelled out the folds a bit more to make the instructions easier to follow for people who are new to origami (I hope!).
Step 1
To make the dress, start with a sheet of paper that's 4" (10 cm) square. This will make a dress that's about 3" (7.5 cm) tall. I like to use paper that's patterned on one side and blank on the other. Thin or normal paper works best - scrapbook paper is too thick to fold into this design.

Turn your paper over so that it's blank side up, then fold it in half vertically and horizontally:

Step 2
Fold the sides in to meet the center:

Your paper now looks like this:

Step 3
Turn over the paper, and fold the sides in to meet the center again:

Step 4
Turn over the paper again, and open out the top-most layer of paper:

Step 5
Fold the top down about 1/2" (1.2 cm). Don't worry about getting it too exact. The further you fold this part down, the deeper the neck-line will be on the finished dress, so you can experiment with different distances and see which you like best.

Step 6
Squash the left side of the bit you just folded down. It's hard to describe in words, but this sequence of photos shows you what to do:

This fold will become the shoulder-strap of the finished dress. Make the same fold on the other side too, so that your paper looks like this:

Step 7
Fold the two sides in to meet the center:

Step 8
Fold the top layers of paper out at an angle, to make the bottom of the dress:

I normally make this fold so that the top of it reaches about half-way up the paper. If you like you can change it to get different-looking styles of dress.
Step 9
Fold the paper in half, so that the points marked "*" come together:

Step 10
Take the piece you just folded down, and fold it up again, but leaving about a 1/2" gap at the top. Once again, don't worry about getting the distance exactly right.

Step 11
Now it's time to sculpt the waistline! Fold in the sides at an angle like this:

And fold in the bottom part of the waistline like this:


The fold can get a big bunched up because there are so many layers of paper, but it doesn't matter because you can't see it from the front.
Finished!
Well done, you finished the dress! Here's what it looks like from the front:

How did your origami dress turn out? I hope you found my instructions clear. If you have any questions or comments, or just want to say hi, please contact me with this handy form .
Making your Origami Card
Once you've finished your dress, you can glue it onto a card and embellish as you like! Depends on the occasion really!

Need some inspiration for what to write inside your card? Check out our:
Below are some gorgeous origami card designs by Tina (a.k.a. KittyKatKards), on sale at her Etsy store . I love the colors she uses. There are loads of other great designs on her site to, so take a browse. Her cards are so beautiful that you might end up buying some origami cards as well as making them :-)


Other Origami Dress Designs
Once you've mastered the origami dress above, you might like to have a go at these other dress designs, with the video instructions below. I found these videos on youtube and I really like these designs. (Although I think the evening dress above is still my favorite.)
Traditional Origami Dress
I'm not sure, but I think this is a more traditional origami dress. It's made from a square piece of paper without any cuts.

And here's the video, by youtube user Noorinaya:
Money Origami Dress and Suit
Fold a dress from a single bill of US money! You can also make a matching shirt and pants.

More Origami Card Ideas...
Origami dresses not your thing? Or looking for some other ideas? Check out the pages below for more origami instructions! Just substitute the bills for a piece of pretty paper...
You might also like...
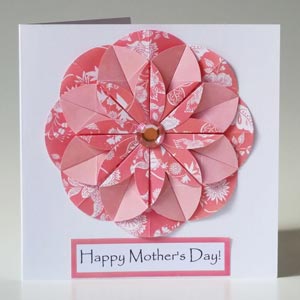
I hope you liked our origami card ideas. Here are some more homemade card ideas for you too: